Bravely Second: End Layer (Página 2)
Video
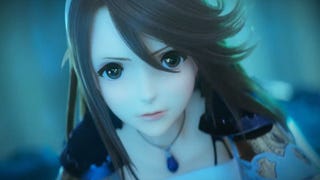
Ainda falta tanto para chegar à Europa.
Luís Alves
News
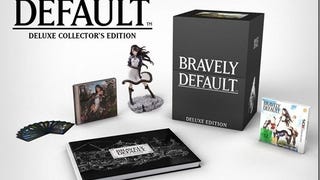
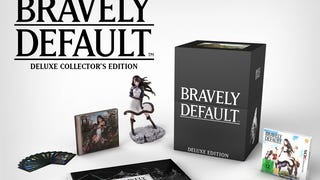
Revelada edição de colecionador.
Jorge Loureiro
News
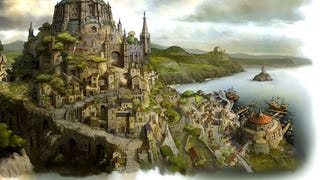
Mostra parte do mundo e opções de personalização.
Jorge Loureiro
News
Desenvolvimento do jogo está perto do fim.
Luís Alves
News
História está a ser elaborada por diferentes pessoas.
Bruno Galvão
News
Reconhece que a sua estratégia na série tem que mudar.
Bruno Galvão
News
Qual será o papel de Agnes?
Bruno Galvão
News
Novidades FF15 e Kingdom Hearts 3 na E3. Só agora descobriu que há fãs de JRPGs em todo o mundo. Novo Hitman irá ao encontro dos fãs hardcore.
Luís Alves
News
Jogo na 3DS foi um sucesso estrondoso.
Luís Alves
News
Sistema de encontros aleatórios mantém-se.
Luís Alves
News
Diretor do jogo menciona ainda Beverly Hills 90210.
Bruno Galvão
News
Esse é um dos objetivos do produtor da série.
Luís Alves
Video
A sequela do aclamado RPG da 3DS.
Luís Alves
News
Akihiko Yoshida explica porque deixou a Square.
Bruno Galvão
News
Uma boa surpresa por parte da Square Enix.
Jorge Loureiro
News
O designer das personagens de Bravely Default e de vários Final Fantasy.
Jorge Loureiro
News
É a sequela de Bravely Default.
Luís Alves
News
Demo estará disponível ainda hoje.
Jorge Loureiro
News
A espera valeu a pena.
Jorge Loureiro
News
Nintendo mostra o primeiro trailer em inglês.
Jorge Loureiro
News
É baseada em For The Sequel.
Jorge Loureiro
News
É mais uma versão melhorada do que uma sequela.
Jorge Loureiro